There are a few things you should do after installing Project OutFox.
Some of these instructions assume usage of the included default theme (Soundwaves).
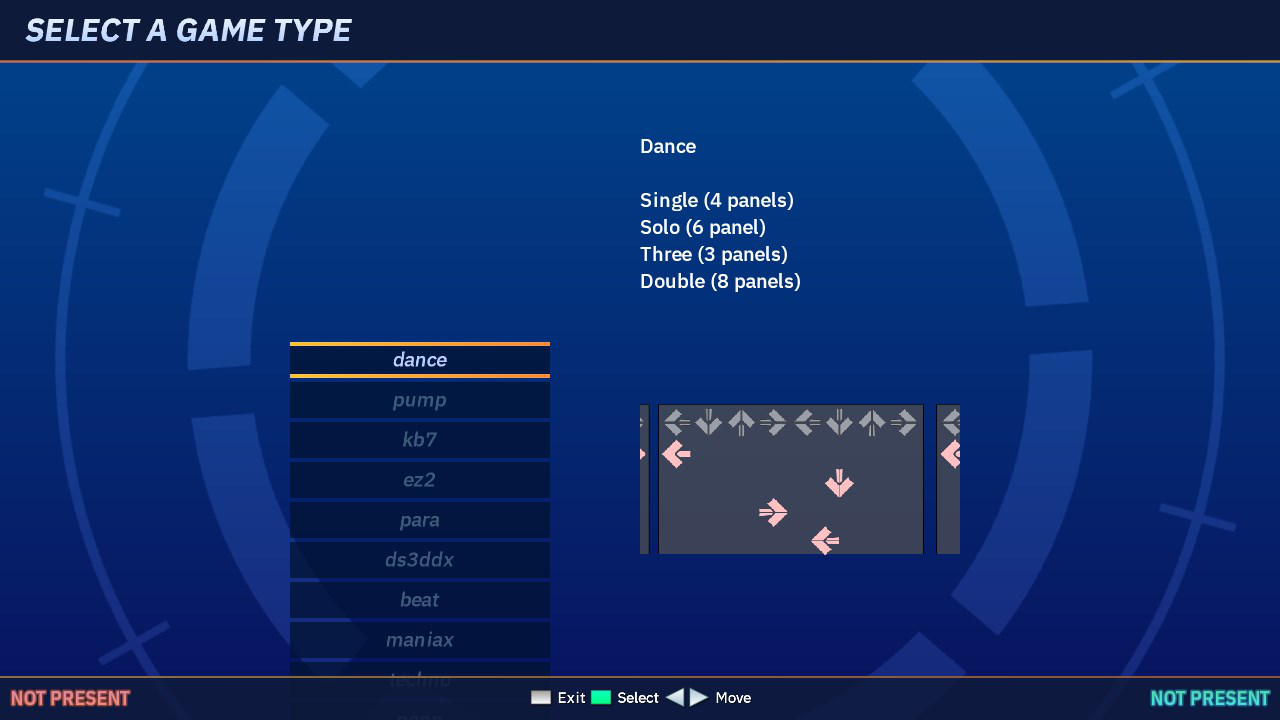
¶ Selecting a game type
When launching Project OutFox for the first time (or without save data present), you will be prompted to select which game type you would like to begin with.
Project OutFox supports a variety of game types, which simulate the button layouts and game mechanics of different types of rhythm games. Game types are further divided into styles, which are permutations such as alternate controller usage.
The most popular game type, dance, is placed at the top. If this is your first time playing OutFox, this is a straightforward and easy-to-understand game mode with plenty of content readily available for download.
Songs that do not support the currently selected game mode will not display in the song list. Please ensure you are using the correct game mode for the content you are trying to play.
Tip: You can switch between game types at any time using the "Select Game"
button on the main menu.
¶ Install songs
While Project OutFox does include a few sample songs, you will probably want to add more. We support a number of formats, including SM, SSC, SMA, DWI, BMS, DTX, .CHART, and KSF.
There are countless community resources for song packs. A great appetizer is our own project, OutFox Serenity.
Place downloaded songs into the Songs folder inside the game's installation directory, or alternatively in the User folder.
~/Library/Preferences/Project OutFox/on macOS~/.project-outfox/on Linux%APPDATA%\Project OutFoxon Windows
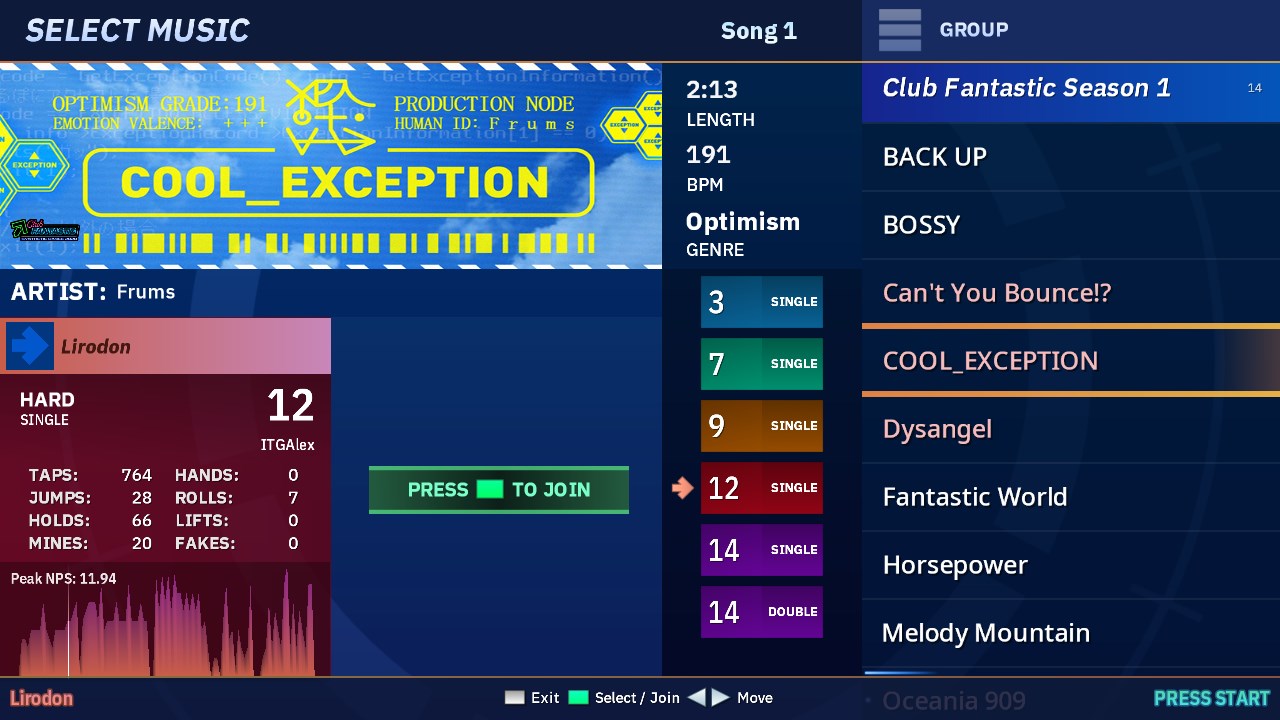
This folder is divided into Groups (also sometimes known as "packs"). Groups, in turn, contain folders for each song.
Here is an example of how the folder structure would look for the song highlighted in the example screenshot.
Songs
│
└───Club Fantastic Season 1 (GROUP)
│   │
│   └───COOL_EXCEPTION (SONG)
│       │
│       │   COOL_EXCEPTION.ssc
│       │   COOL_EXCEPTION.ogg
│       │   COOL_EXCEPTION-bg.png
│       │   COOL_EXCEPTION-bn.png
│       │   COOL_EXCEPTION-jk.png
Packs are typically distributed as ZIP files. Extract the archive with your preferred software, and copy the group folder containing the song directories to the Songs folder, matching the structure above.
Note: If the songs do not appear, be sure to check that you have not accidentally nested your folders too deep inside a redundant folder.
Note: If a song is not contained inside a group folder, but instead on the root Songs directory, the game will stop loading to let you know of the Song folder in question.
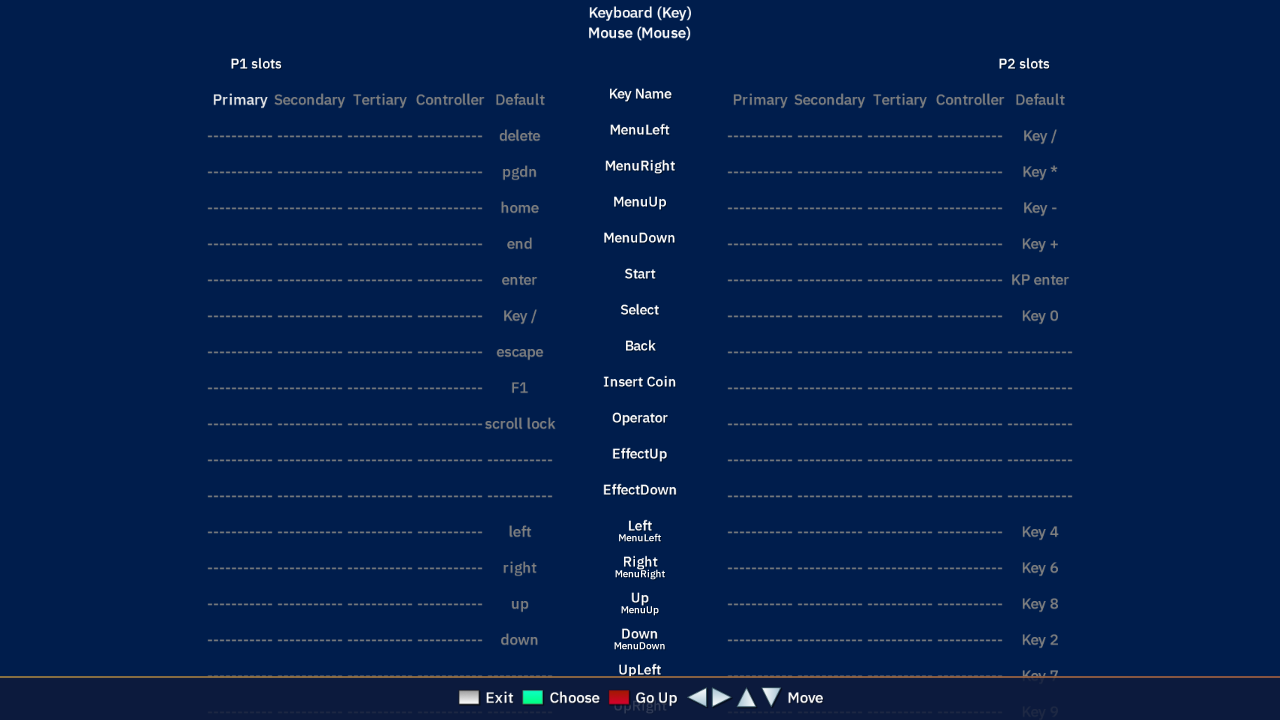
¶ Configuring your controls
Project OutFox supports a wide variety of controllers and even arcade hardware. To configure your button mappings, go to Options > Input & Calibration > Config Key/Joy Mappings.
Use the arrow keys to select an item to map, press Enter, and then press the button on the keyboard or controller you want to use. You can have multiple button assignments for each command.
Each game type has its own default keyboard configuration. For example, dance maps the first player to the arrow keys. (when playing on keyboard, this is often referred to as the "index" playstyle).
¶ Controller not working?
If your controller does not perform as well or function as expected, you can switch to the alternate XInput input mode from Options > Experimental Settings.
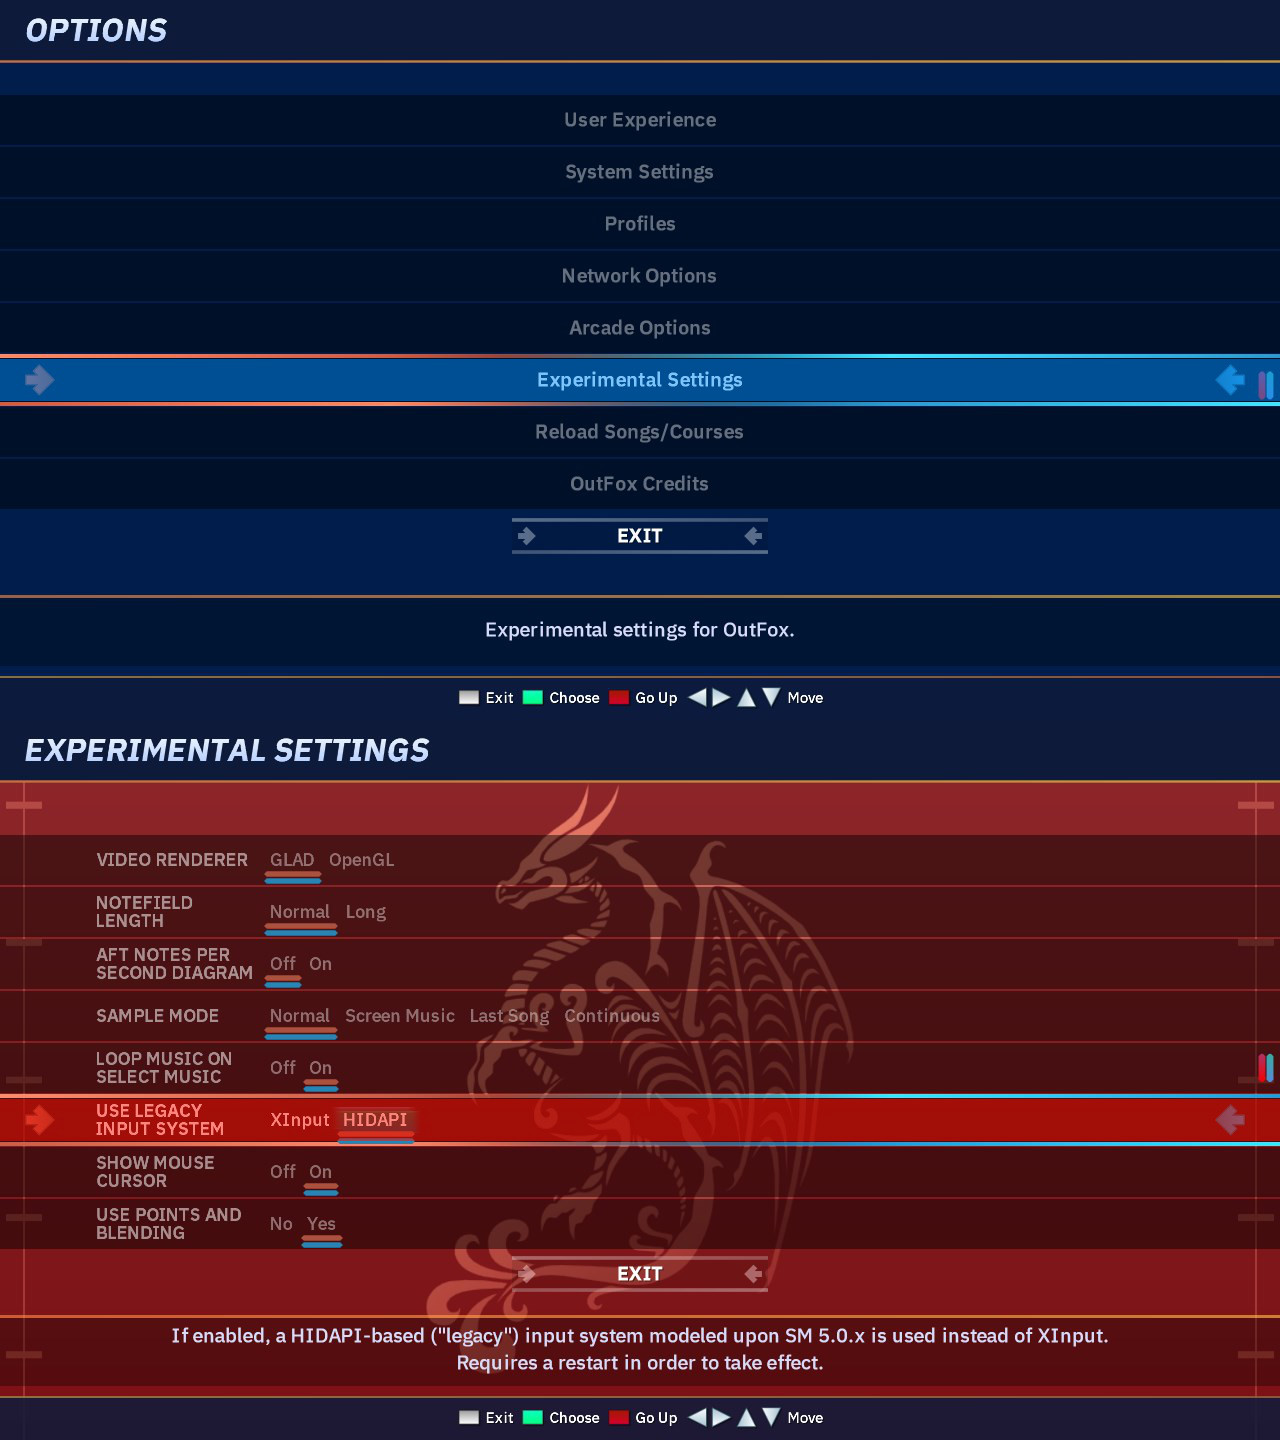
XInput will sometimes also require you to map your controller to the input engine's virtual gamepad, allowing the game to properly interface with the device.
This menu can be found at Options > Input & Calibration > Map Controller.
¶ Calibrate your audio sync
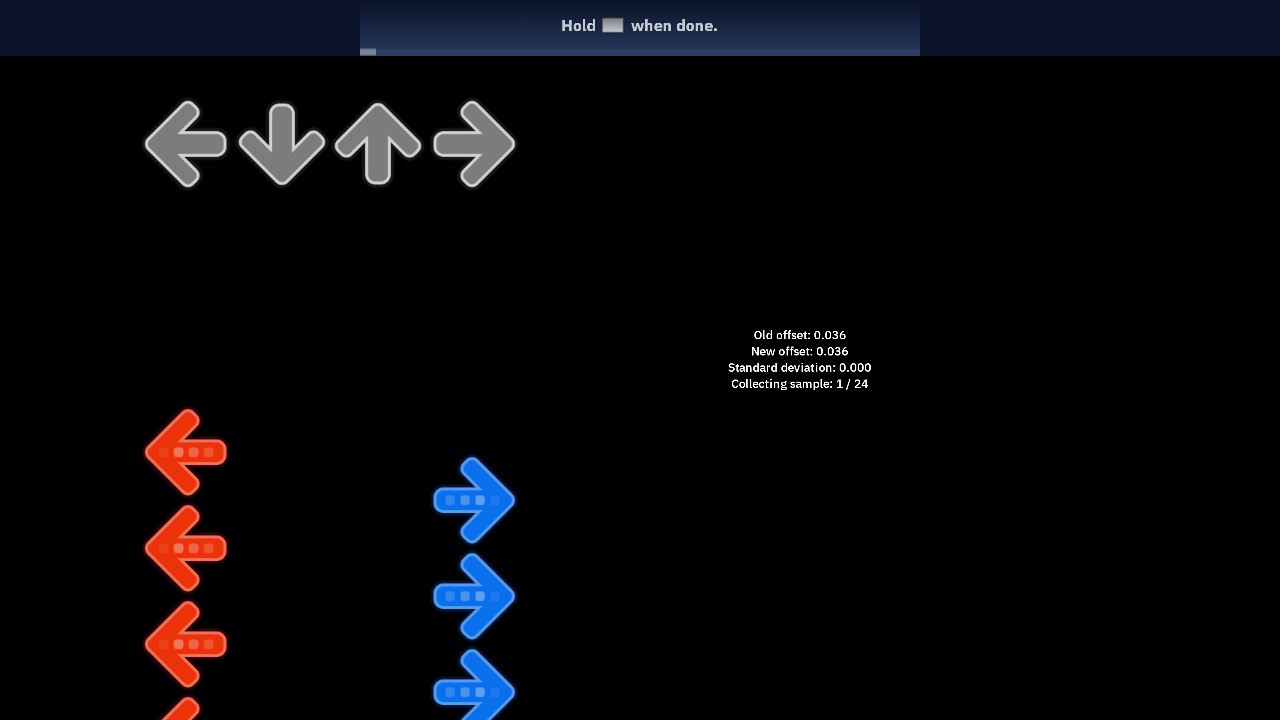
In a rhythm game, timing is everything. But latency produced by your audio outputs can affect your accuracy. If you feel like the game is not judging your timing accurately, you can interactively adjust the audio offset.
Options > Input & Calibration > Calibrate Audio Sync
Tap the notes based on what you HEAR, not what you SEE.
This calibration will repeat continuously. Every 24 notes, your inputs will be used to calculate a new offset. Once you feel the judgment has been set correctly, press the Back button (mapped to Escape by default). It will ask you for confirmation in setting the new offset.
Alternatively, if you wish to automatically calibrate in-game while playing your song of choice, you can press F6 twice during gameplay to enable AutoSync Machine, which will last until the end of the song or when exited with the Back button. A message will appear asking to confirm your changes.
¶ Audio Latency / ASIO
If something still feels off, you might be playing a gamemode with keysounds, which means the user's button inputs will trigger a sound when pressed.
Examples of keysounded gamemodes: kbm, po-mu, be-mu
Audio latency is a massive problem for these game modes, because there will be a delay between the user's button press and the sound that is played. Merely calibrating the judgment window will not improve latency.
On Windows, it is strongly recommended to use an ASIO driver to ensure lowest possible latency. Mac and Linux users should already obtain low latency output without any special configuration.
If you are only interested in
dancemode, you can ignore this section. ASIO provides no particular benefit for non-keysounded modes, if you have calibrated correctly.
Windows does not include any ASIO drivers, because these are dependent on your specific audio hardware. Do not enable this unless you have an ASIO driver present on your system.
To enable the ASIO driver in Outfox, edit your Preferences.ini (located in the Save folder) and set SoundDrivers to asio, like so:
SoundDrivers=asio
¶ Realtek ASIO
If your computer uses Realtek-based audio hardware, there is a native implementation of ASIO made by Realtek.
First, install the official Realtek audio driver (this is NOT the Windows built-in driver). This is usually available from your motherboard's driver download page. Reboot your computer after installing this driver, and before installing the ASIO module.
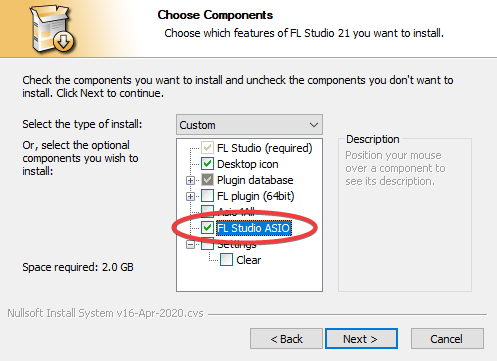
¶ FL Studio ASIO
If your audio hardware does not have a native ASIO implementation, FL Studio provides a wrapper that can "simulate" ASIO support and achieve lower latency, however this is not ideal as it is not a proper native implementation.
The free demo of FL Studio includes FL Studio ASIO. All other optional components can be un-checked. Do note that this requires installation of the full FL Studio software.
No license is required to utilize FL Studio ASIO.
¶ Create a profile
By default, OutFox saves data to a global "machine profile". However, there is certain data that will not persist between sessions, such as high scores and player settings.
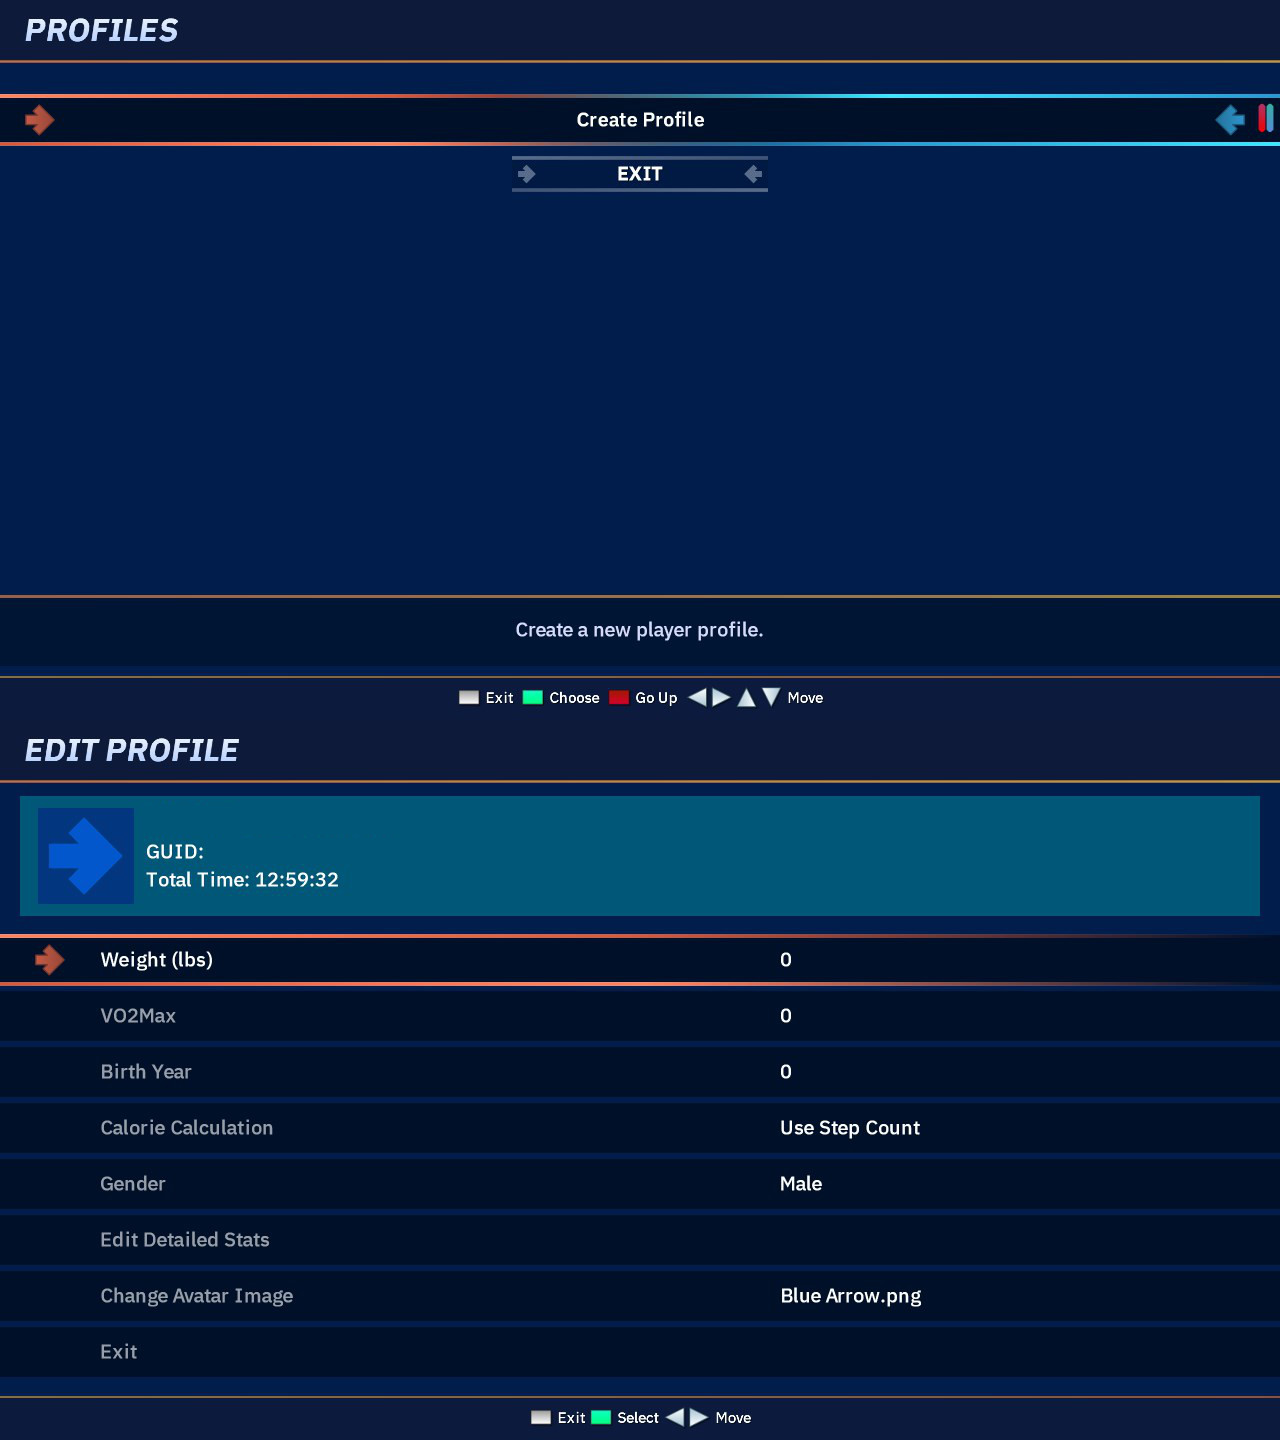
You can manage profiles from Options > Profiles. From here you can create a profile, and edit existing profiles.
From the profile editor (highlight a profile and press Start, and then select "Edit profile"), you can input fitness-related information, change the layout of the optional "Detailed Stats" pane during gameplay, and add an avatar to your profile (avatars are loaded from the Appearance/Avatars directory).
¶ Next steps
The only thing left to do is have fun! If you need more help with Project OutFox, check out the other pages in our wiki documentation, and join other members of our community on our Discord server.
Thank you for supporting Project OutFox!