Most themes use custom fonts, which are bitmap images with a bundled INI file that contains information about its width and height information for the engine to then process as glyphs. You can think of them as images that represent each letter.
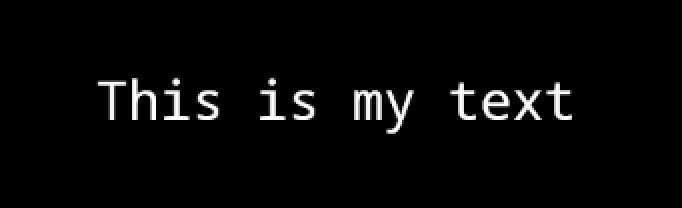
We have a BitmapText actor, with a default font (Common Normal) that has the following text:
Def.BitmapText{
    Font = "Common Normal",
    Text = "This is my text",
    InitCommand = function(self)
        -- Center the BitmapText actor.
        self:xy( SCREEN_CENTER_X, SCREEN_CENTER_Y )
    end
}
This actor becomes:
We have a BitmapText actor, with a custom font that has the following text:
Def.BitmapText{
    Font = "_eurostile normal",
    Text = "This is my text",
    InitCommand = function(self)
        -- Center the BitmapText actor.
        self:xy( SCREEN_CENTER_X, SCREEN_CENTER_Y )
    end
}
This actor becomes:

To create these fonts, we have a tool called Texture Font Generator, which can create the font bitmaps. Keep in mind that this software currently is Windows only.
The Texture Font Generator's more recent versions export glyphs that are only compatible with OutFox. If you'd like to use the tool to generate fonts for earlier StepMania releases, use the Legacy version of the tool.
Open the program and a window will pop up with a font preview and selections.
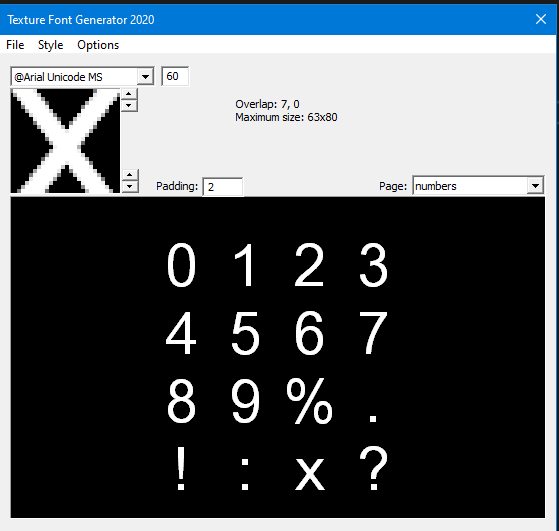
The smaller window area provides info into what font to use, its size to render, and vertical spacing control buttons, these are tagged on the "Overlap" text area.
Maximum size: indicates the size of each glyph.
Padding: changes the vertical and horizontal spacing on each glyph.
Page: is the glyph map to render out with the current font.
It is recommended to use a monospaced font for GUI elements, as it allows readability and accesibility for dyslexic individuals.
The tool allows for different kinds of options on what glyphs to export, which are the following:
- Exporting to only numbers, which are commonly used on scoring text (shown on screenshot above)
- Export strokes (a separate layer of fonts that can be used for bordering)
- Double Resolution (A flag added to the filename, which tells the engine to render the glyph half the size for sharper text, but it will need a bigger sized font for better results)
When you're ready to export the font, click on File > Save, and a prompt window will appear asking the location on where to save the file. You can give the font a name, and this will be applied to all of the files exported.
It'll export the image itself containing the glyphs of the font, an Ini file containing the spacing data for each glyph and additional stroke images if the option to export strokes was enabled.